Soap Making Q & A ~ An Invitation
November 8, 2011
Official soap week @ FIMBY was a couple weeks ago already. Here's the posts from that week:
My actual soapmaking plans were cut short by an impromptu family trip to hike Mt. Katahdin the Friday of that week. The soap I planned to make that day, Holiday Spice, didn't get made till last week.
I will be sharing that recipe with you in my next post, just in time for you to make a batch for your own holiday gift giving.
Alternatively, you can buy a bar or two from me the beginning of December when it is done curing. I took special care to cut the bars thin (I'll be selling them by the ounce or gram) so they don't cost so much to ship. I'll post the price and shipping rates when they are ready.
In this post I wanted to share a few photos of what the soap making process looks like and answer any soapmaking questions you may have.
If you have specific questions about any part of the process - supplies, recipes, mishaps, curing, etc... please ask in comments and I will do my best to answer those questions this week before we unplug this machine and pack it up to move to the chalet the end of this week.
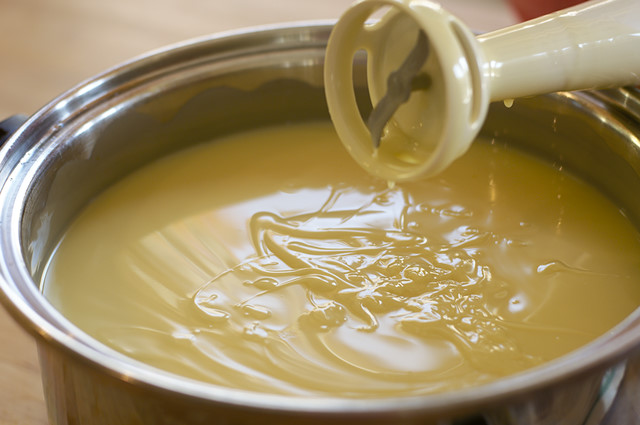
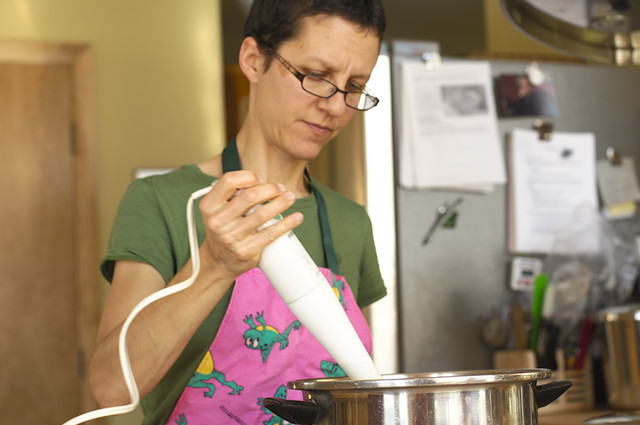
Trace
Simple Soap
Like I mentioned in A Soapmaking Journey my Simple Soap recipe, about as simple a recipe as can be found, traced very weirdly this time around. I would have taken a photo but I was so focused on the task-at-hand, it was hardening very fast, that I just didn't have time.

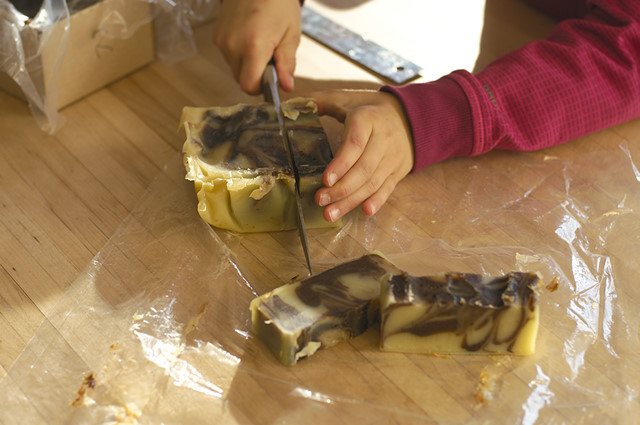
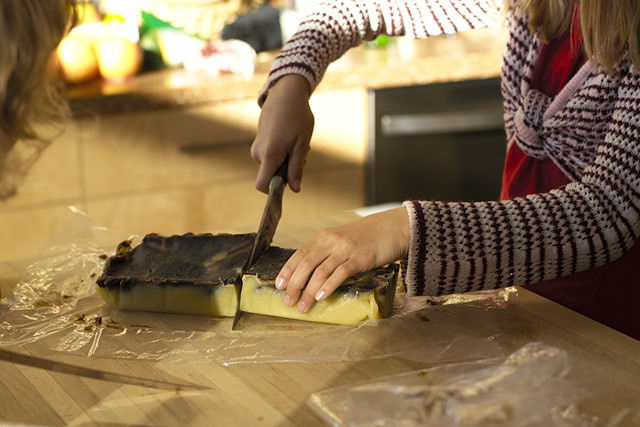
Approximately one day after pouring (about 24 hours) I cut the soap into bars. Some of it I just broke off in chunks. It's destined to be grated in the food processor for laundry soap so it doesn't matter what it looks like. The texture was real crumbly so I wasn't sure how well the soap turned out.
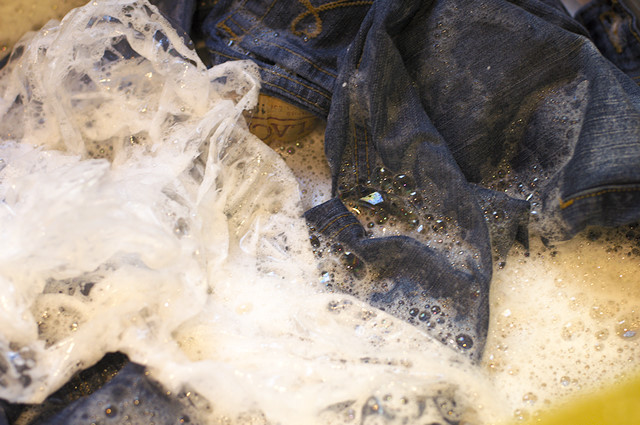
So I did a test. I used the little bits of soap left on the the mold liner (I use a cardboard box lined with a thick plastic bag for a mold) to scrub stains out of my daughter's jeans. Worked like a charm. It doesn't look pretty but it works and that's all that matters.
Holiday Spice
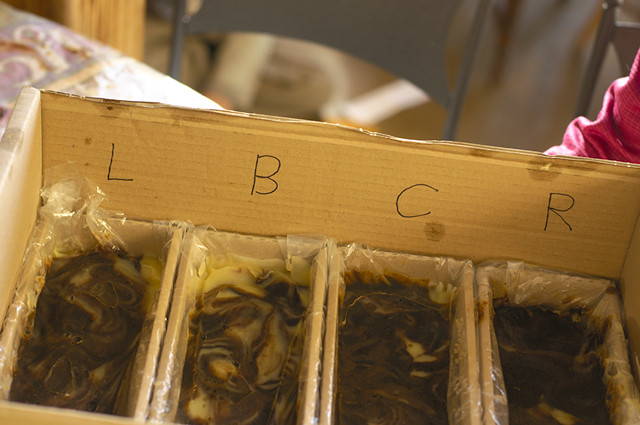
The kids were more involved this time around, it was a bit of a homeschool project after all, and for the Holiday Spice soap I let them all "swirl" their own batch. I found this really great cardboard box that came with four rectangular inserts (a vitamin company box I scored at the health food store). I lined them all with plastic and we each got our our box to muck around with.
This is how you produce two toned/textured soap:
- At trace add your essential oils and any other material you want throughout the whole bar into the lye/water/oil mixture.
- Pour approximately half of the pot into the mold or molds.
- Add your colorants, in this case cocoa powder and ground cloves, to the remaining mixture.
- Mix well and working quickly (don't panic but you can't dawdle at this stage or your soap will harden too much in the pot and you won't get as much into your molds) pour this "colored" mixture over top the first layer.
- Using a spatula carve figure 8's and S-shaped patterns through the liquid soap. Don't be afraid to go deep. Every time I'm cautious the design isn't as pretty.
We each made our own pattern and labeled our boxes accordingly. This kind of thing matters to kids - that they know which is their design and genius (smile).
Shampoo Soap
The girls and I came up with two recipes for this batch - Lavender Lemonade and Orange Spice Cookie (at least I think that is what Celine is calling it).
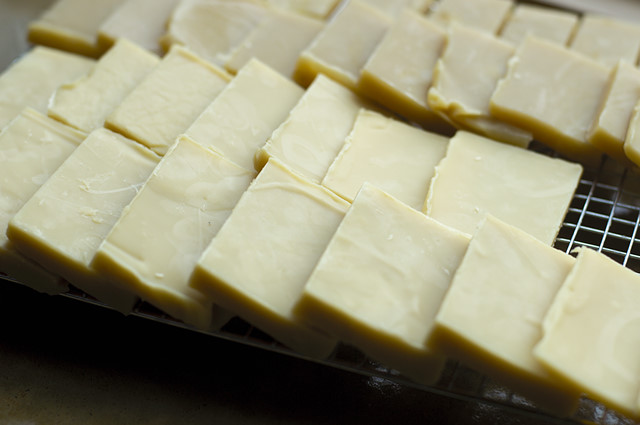
I don't have as much space for curing soap as I used to, a wall mounted wire rack in my old kitchen. I'm currently experimenting with how to cure soap in small spaces. Don't let lack of curing space deter you. I think soap can really cure anywhere but the more air circulation it gets the harder it gets. And the harder the bar the longer it lasts.
History
My grandmother reads this blog. I don't see her much, she lives on the opposite coast. Hi Grandma, I love you!
Anyway, she e-mailed me her childhood soap making memories after reading my soap week posts. Feeling connected to my grandma and great-grandmother - who I knew as I young child - through my soap making makes it that much more meaningful to me.
I remember when I was little my Mom making soap and using ashes as lye. Yes, and saving all the fats to make soap for washing clothes. Later she used (store-bought) lye, and how very cautious we all had to be .
If you have any questions, ask away. And stay tuned for the Holiday Spice soap recipe.

